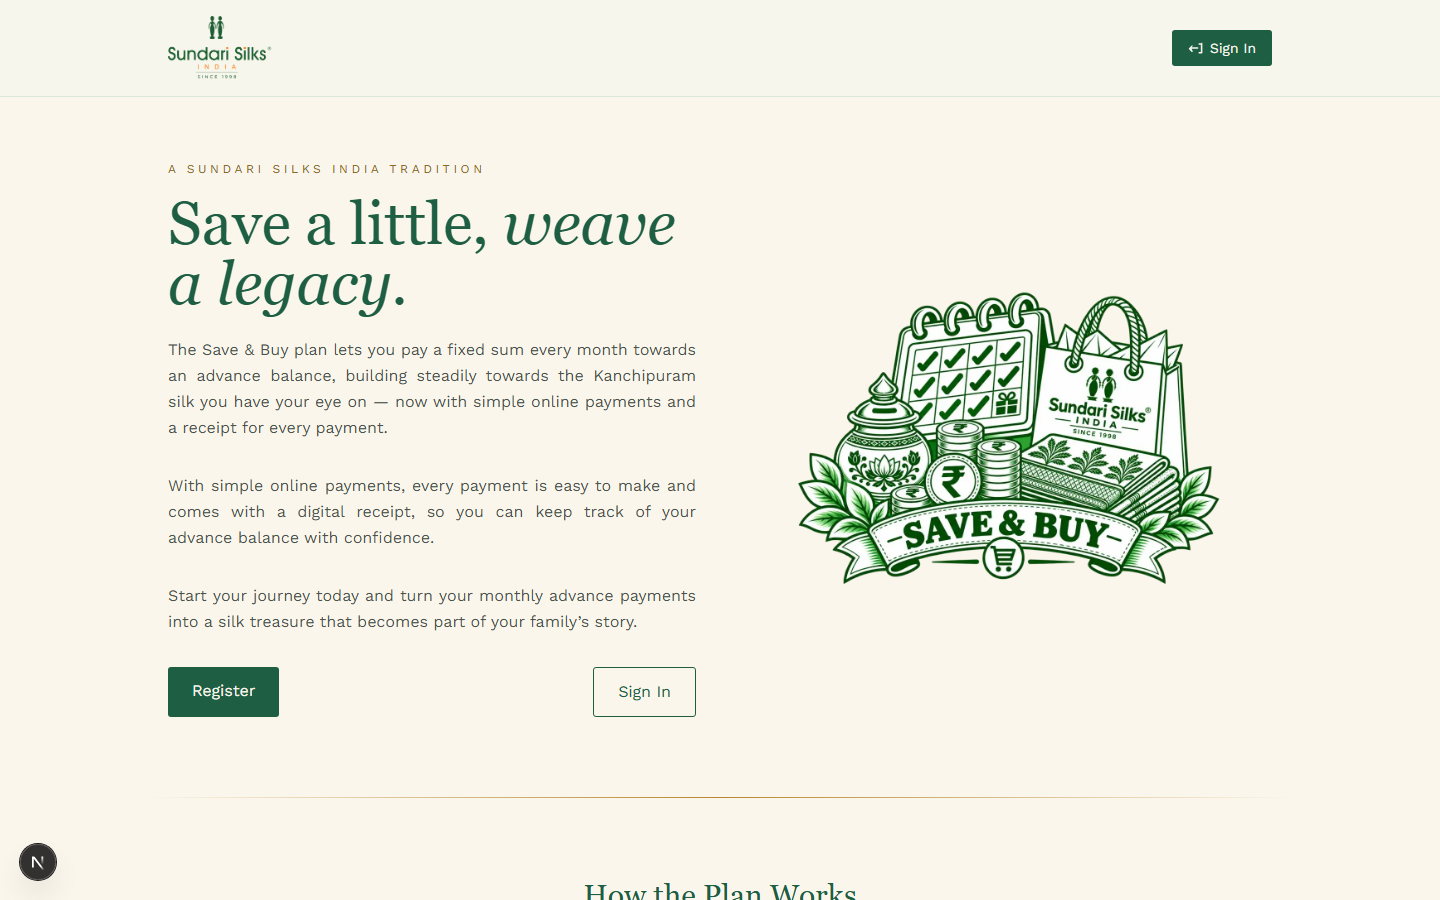
Register for the plan
New customers create an account once, with just a name, address and country — this ties your advance balance to you.
- 1 Tap RegisterFrom the home page, or from the "New user?" link on the sign‑in page.
- 2 Fill in your detailsFull name, flat/house name, street and country. Fields marked with a red asterisk are required.
- 3 Verify with an OTPA one‑time code confirms your mobile number or email before your account is created.
- 4 Sign inOnce verified, you're returned to the sign‑in page to log in for the first time.
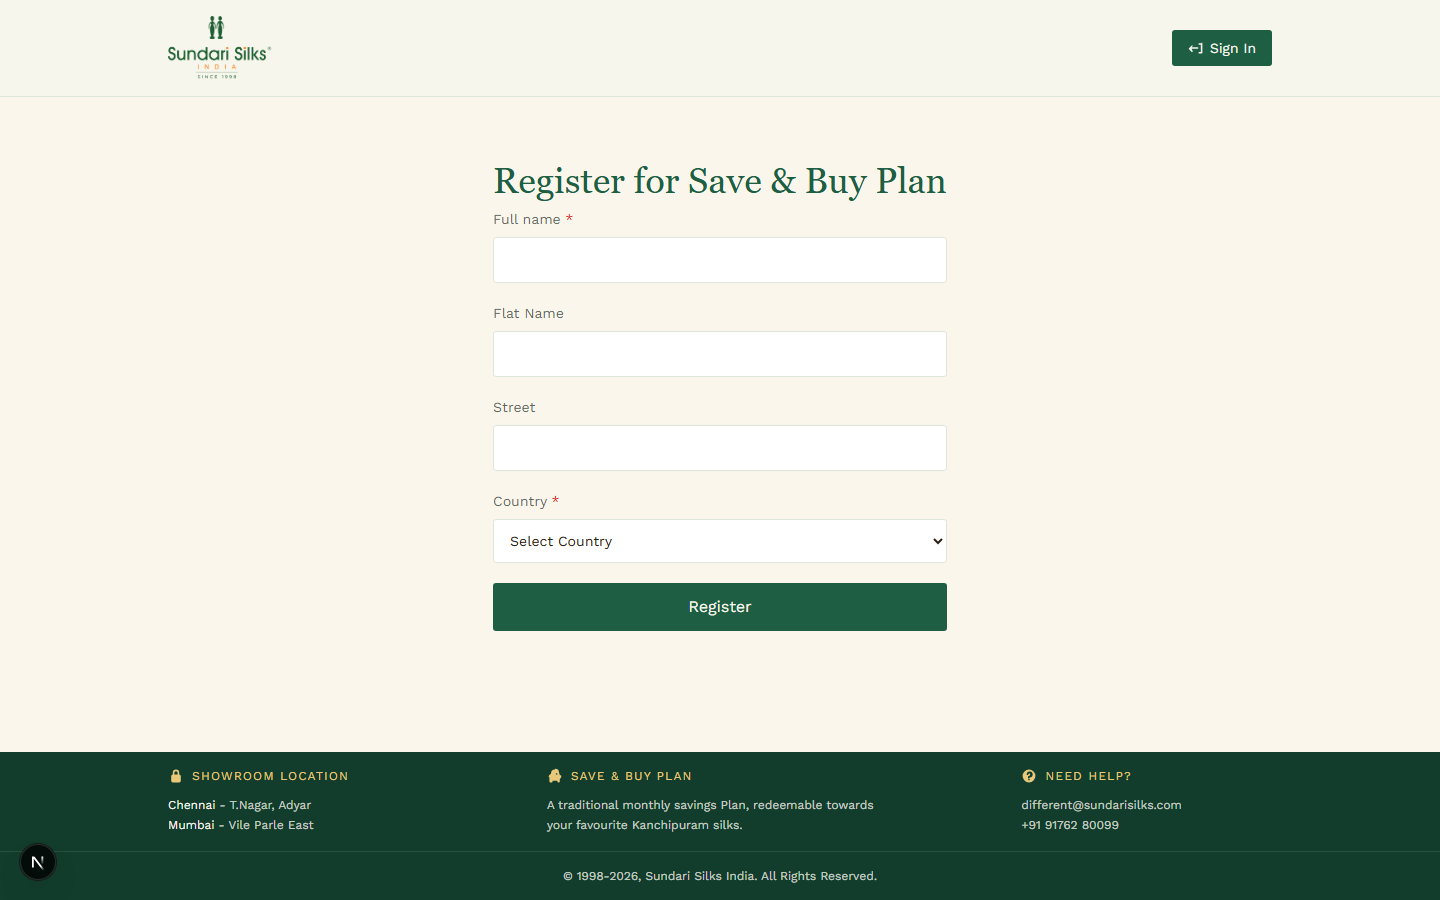
Sign in
There are two ways in, depending on whether you registered directly or were enrolled as part of a group plan.
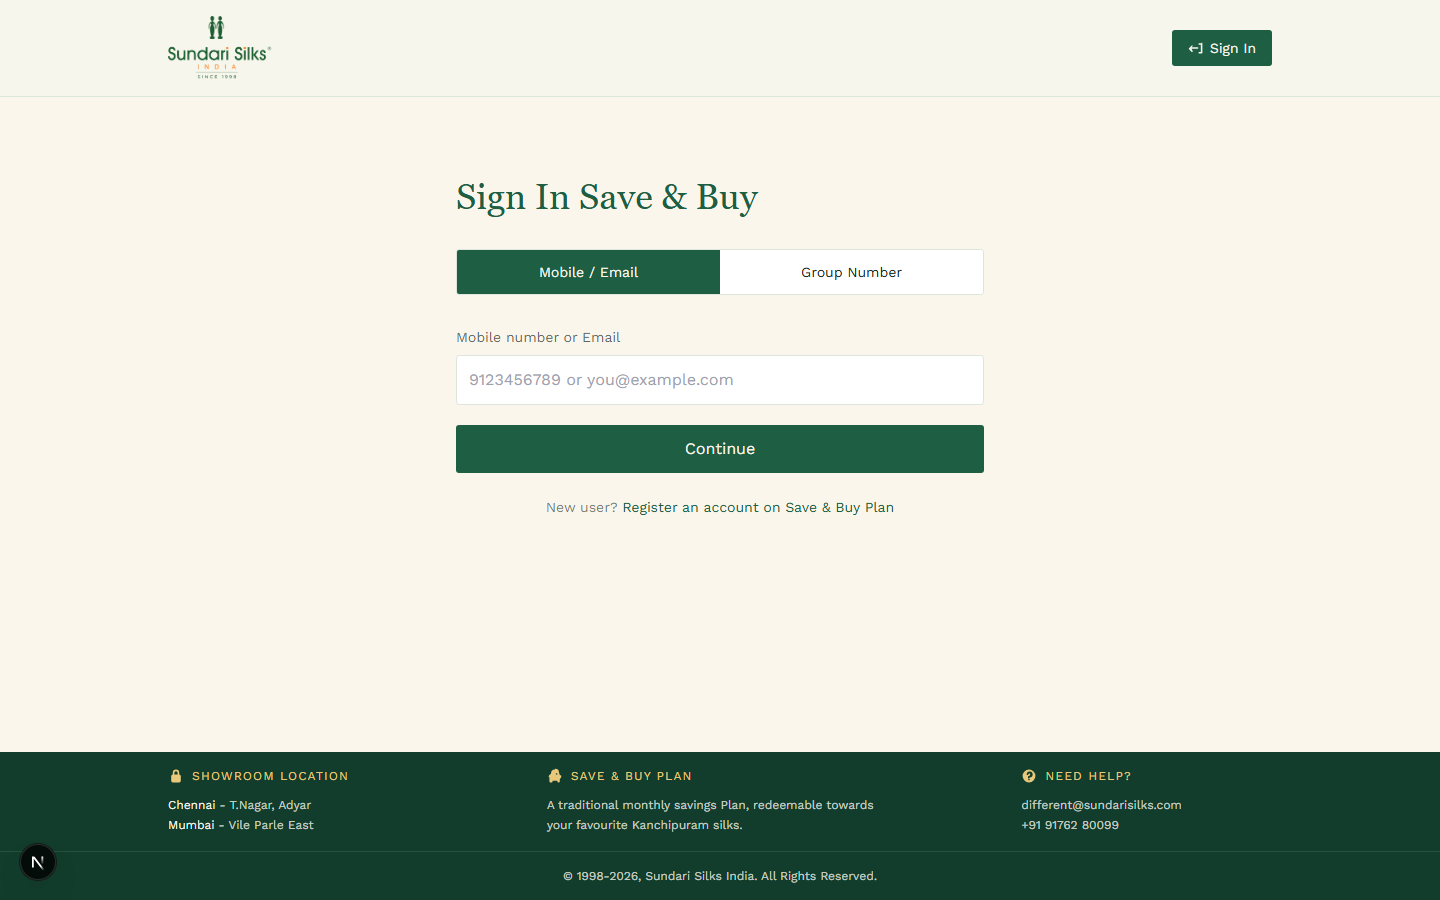
Mobile / Email — enter your number or email, then continue with an OTP or your 4‑digit PIN, whichever the account supports.
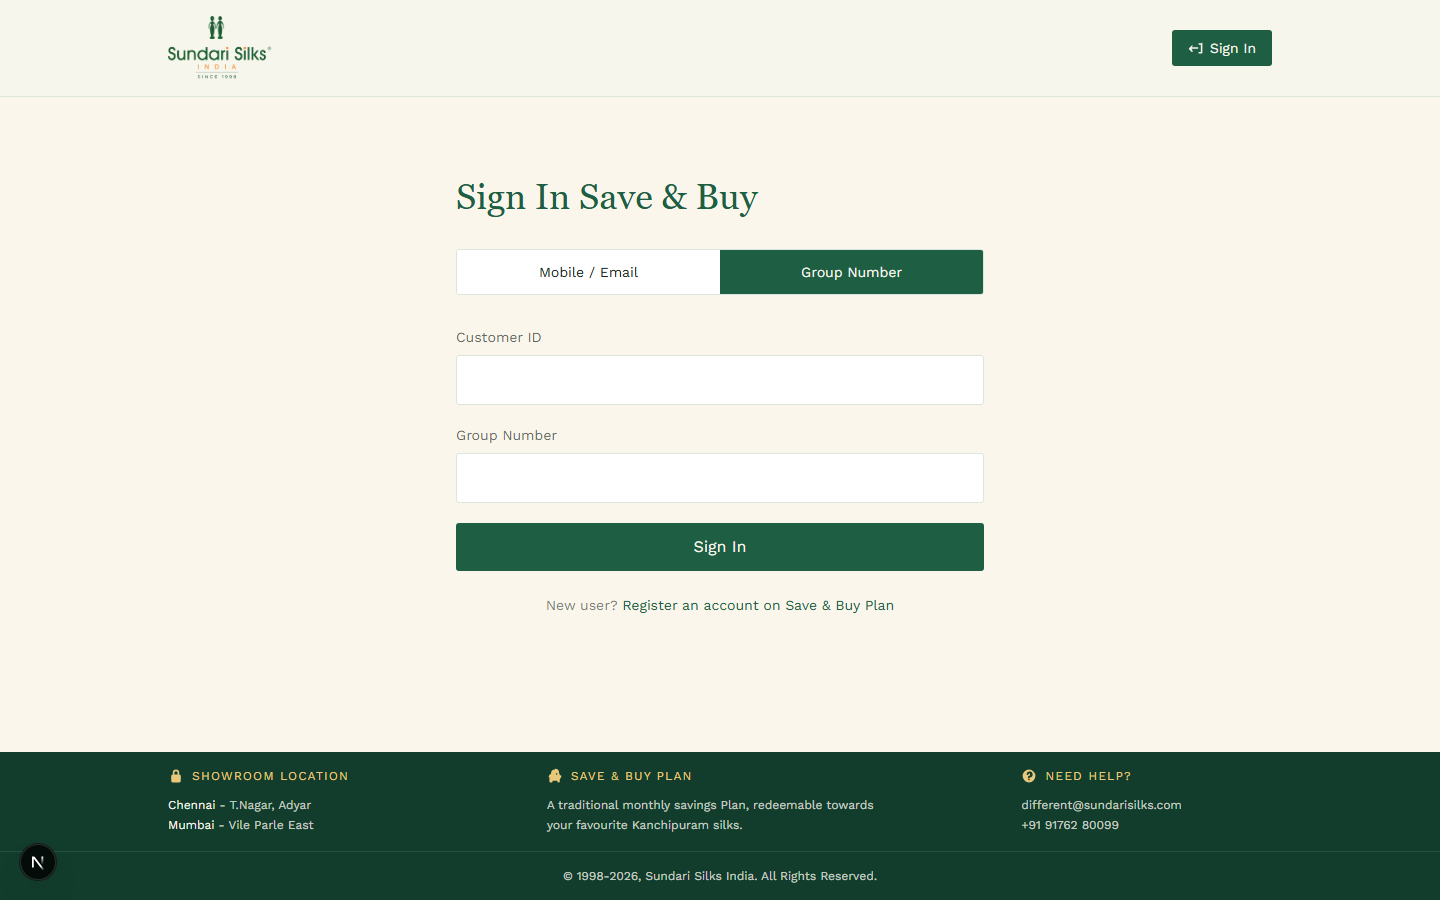
Group Number — enter your Customer ID and Group Number exactly as given by the showroom (format XXX‑XXX‑XXX).
Your dashboard
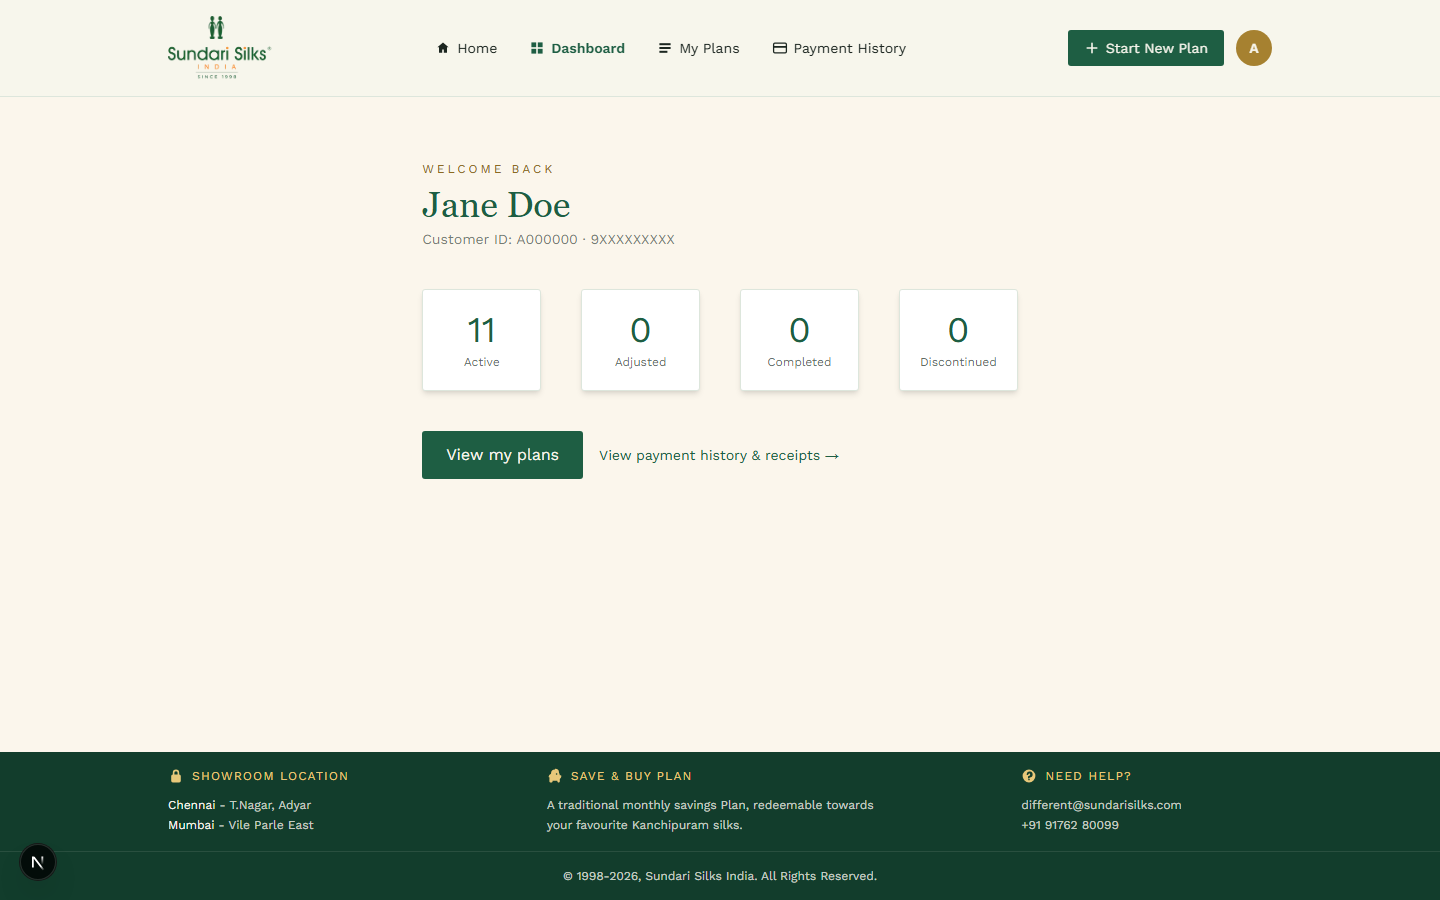
Signing in takes you here — a snapshot of every plan you hold, in four counts.
- •ActivePlans with instalments still due.
- •AdjustedPlans already redeemed against a bill in‑store.
- •CompletedPlans that reached their full term.
- •DiscontinuedPlans stopped before completion.
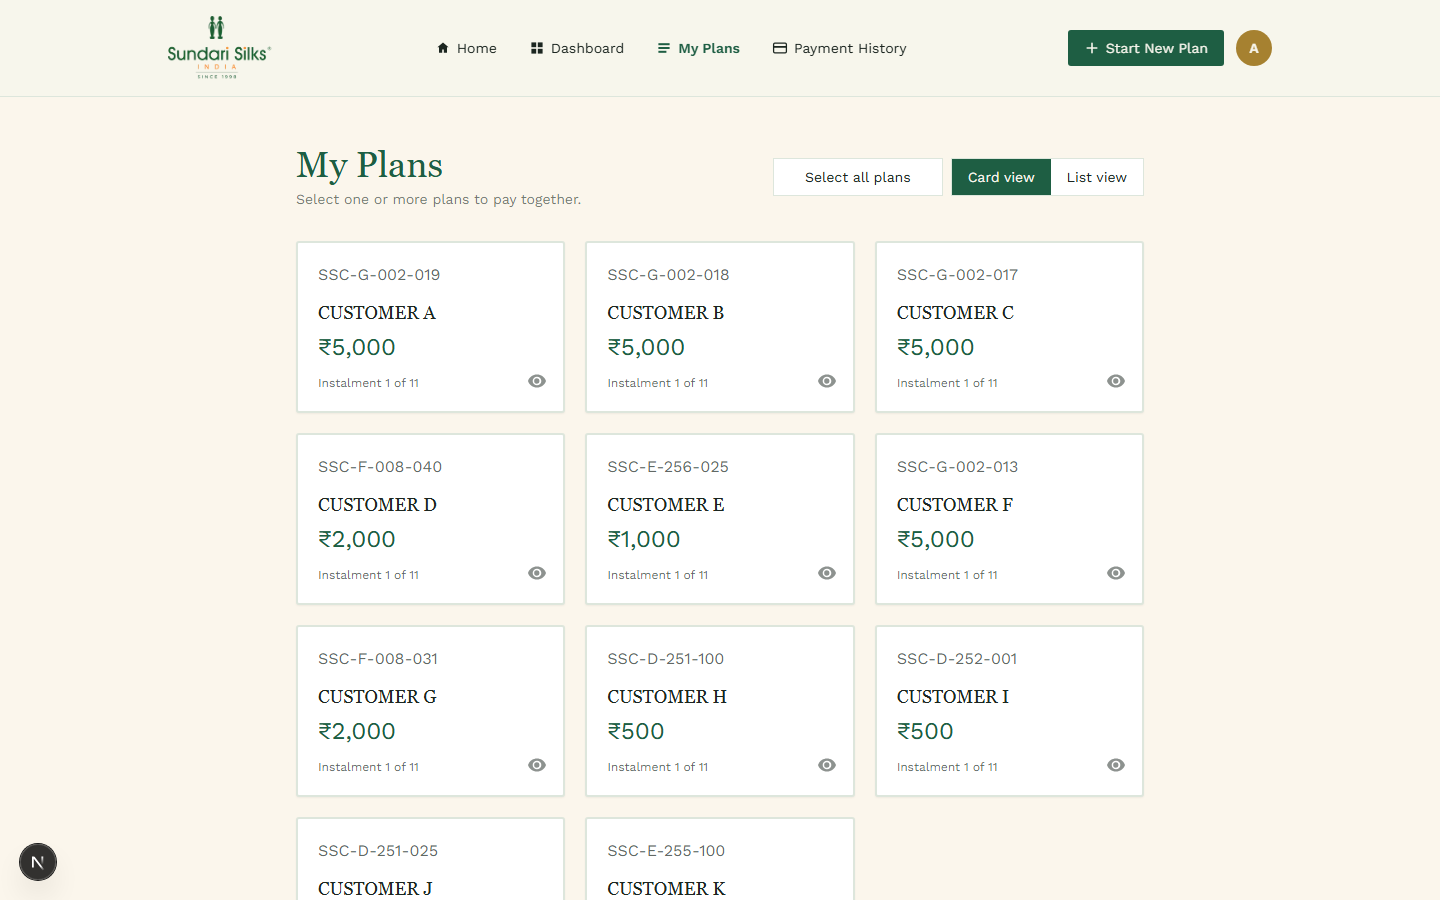
My Plans — pay an instalment
Every plan you hold, each as its own card: group number, holder name, the monthly amount, and which instalment you're on.
- 1Switch viewsToggle between Card view and List view — same data, denser layout.
- 2Select one or more plansTap a card to select it, or "Select all plans" to pay everything at once.
- 3Check the running totalThe bar at the bottom keeps a live count of plans selected and the amount due.
- 4Pay NowConfirms the amount and hands off to the payment checkout.
The eye icon on each card opens that plan's own instalment history. "Amount Paid Till Date" at the bottom totals every payment you've made, across all plans.
Start a new plan
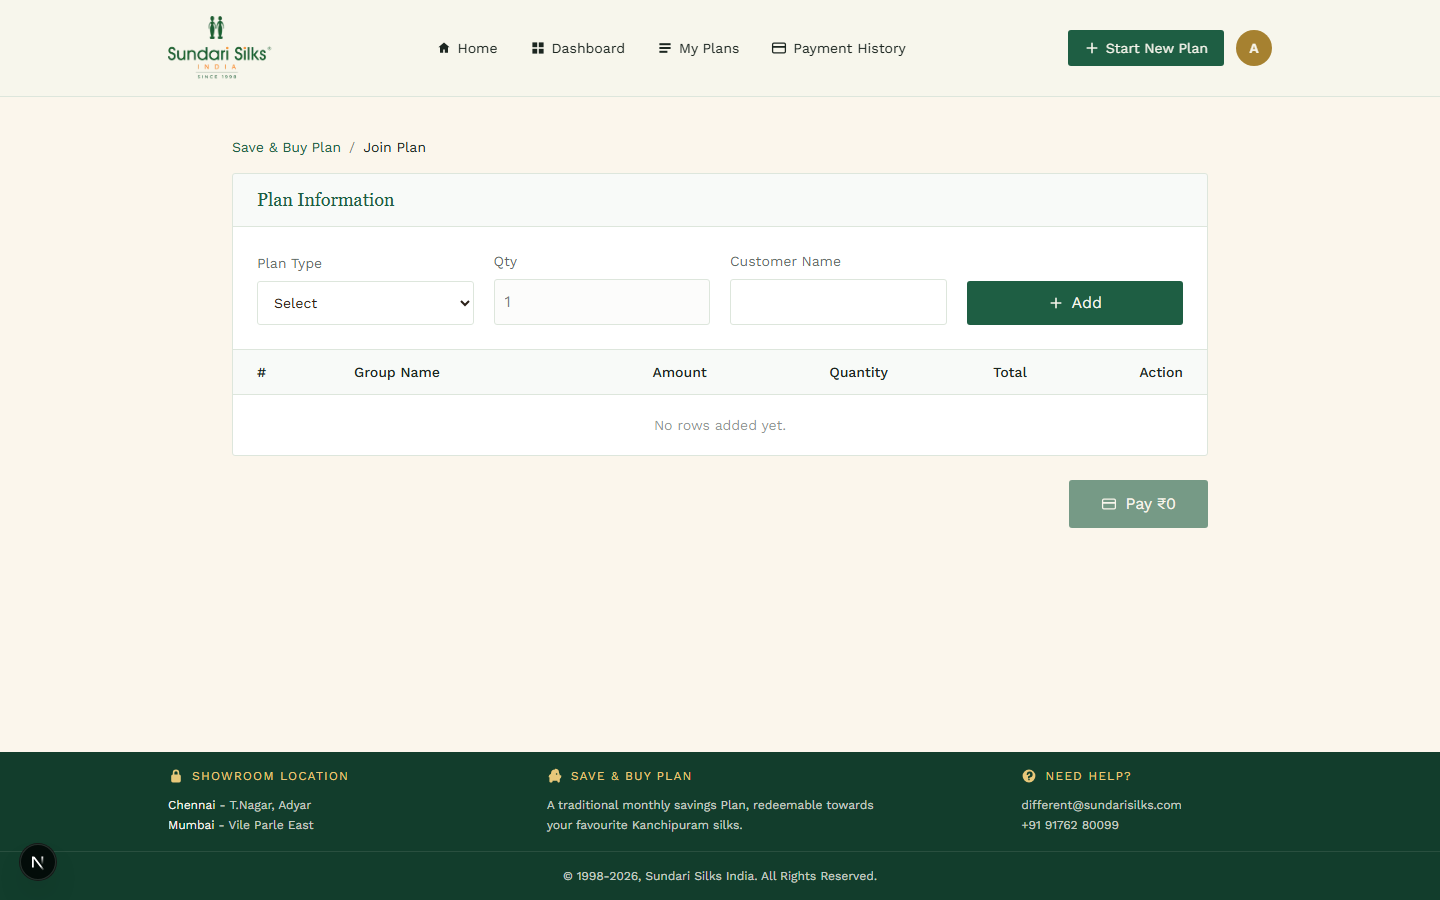
Already a member and want to open another plan — for yourself or on someone else's behalf? "Start New Plan" in the header brings you here.
- 1Choose a plan typePick the monthly amount that fits your budget from the dropdown.
- 2Set quantity and nameAdd a quantity and the customer name the plan should be registered under.
- 3Add it to the listRepeat to open several plans in one visit — each appears as its own row.
- 4PayThe total updates live; pay once to activate every row you've added.
Payment history & receipts
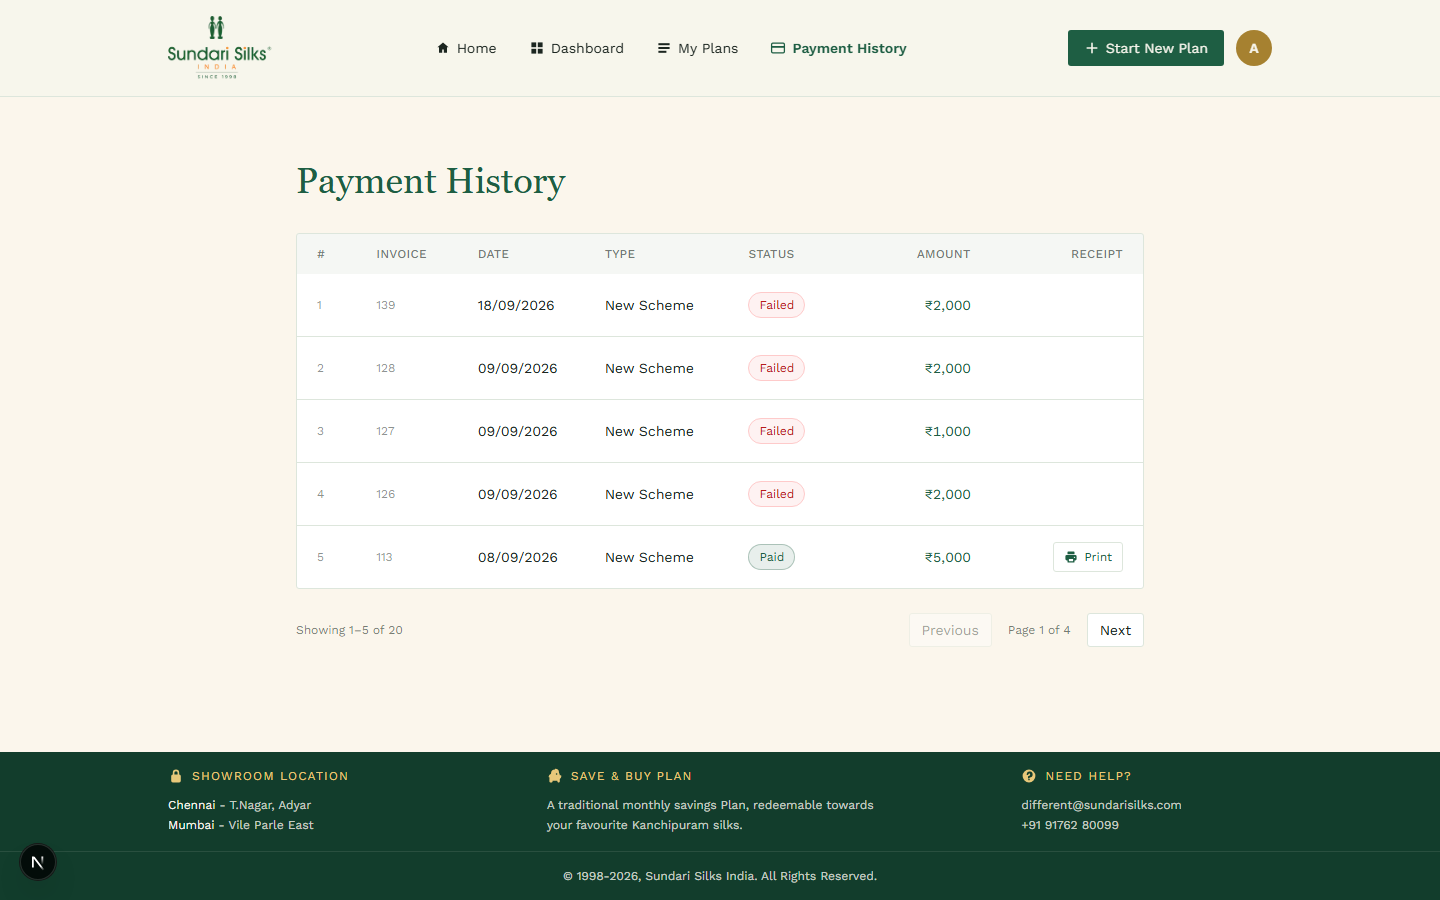
Every payment attempt, successful or not, with a printable receipt for each one that went through.
- 1Read the statusPaid confirms the payment went through; Failed means it didn't — retry from My Plans.
- 2Print a receiptOnly successful payments show a Print button, which opens a printable receipt.
- 3Page throughFive invoices per page — use Previous / Next to see older payments.
On your phone
Everything above works the same on mobile — navigation moves into the menu behind the ≡ icon, top left.
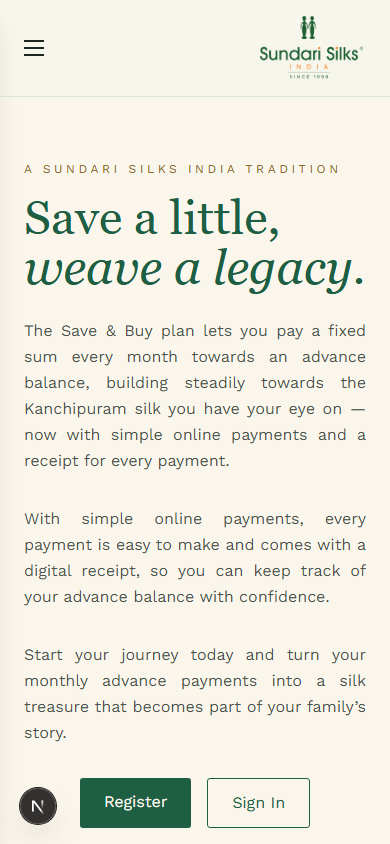
Home, before signing in
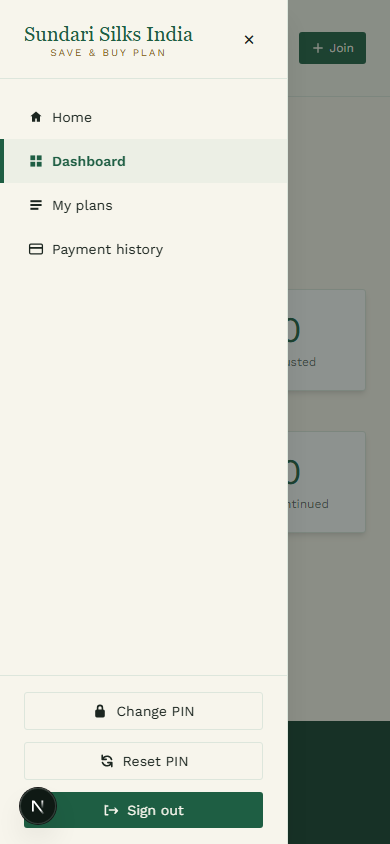
Menu — Dashboard, My Plans, Payment History, plus PIN & sign out
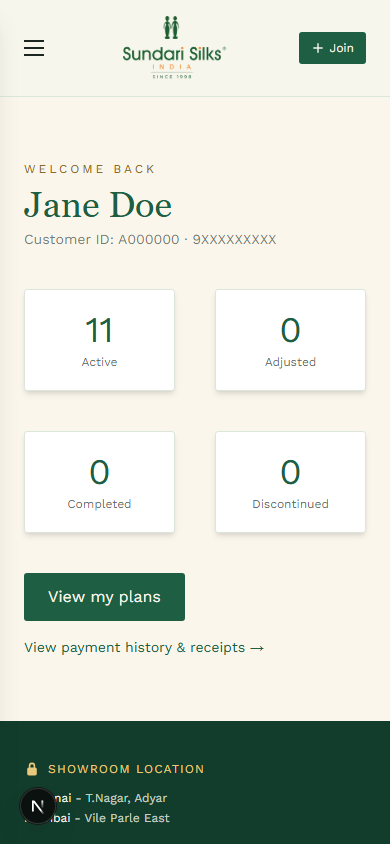
Dashboard, same counts as desktop